Getting Started
Install
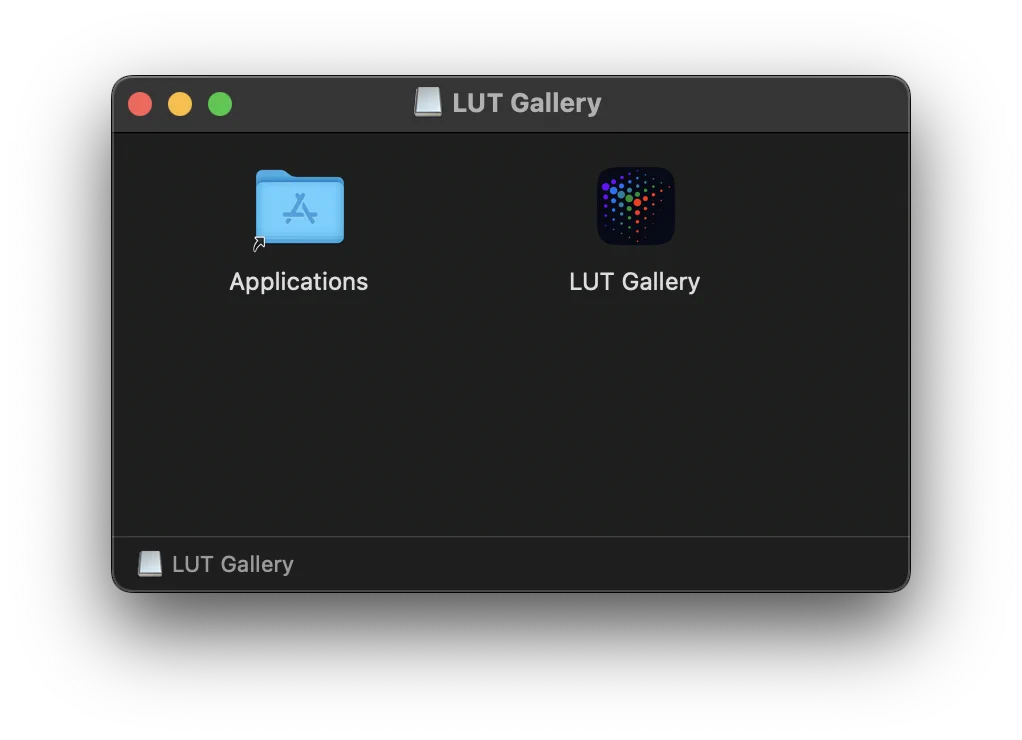
- Download LUT Gallery.dmg from the link you were sent.
- Open the DMG and drag LUT Gallery into your Applications folder.
- Launch it from Applications.
The build is signed and notarized, so it opens normally. If macOS ever shows a Gatekeeper prompt, right-click the app → Open once to confirm.
note
Requirements: macOS 15.1 (Sequoia) or later. LUT Gallery is a universal app — it runs natively on both Apple Silicon and Intel Macs (no Rosetta).
First launch & licensing
LUT Gallery is keyless — there are no licence keys to type. On first launch it asks you to start a free trial: enter your email and click Start Free Trial. The window title shows your status:
- LUT Gallery — Trial (N days left) — full functionality during the trial.
- LUT Gallery / LUT Gallery Pro — licensed.
- LUT Gallery — Unlicensed — no active trial or licence; the app is locked until you start a trial, buy, or restore.
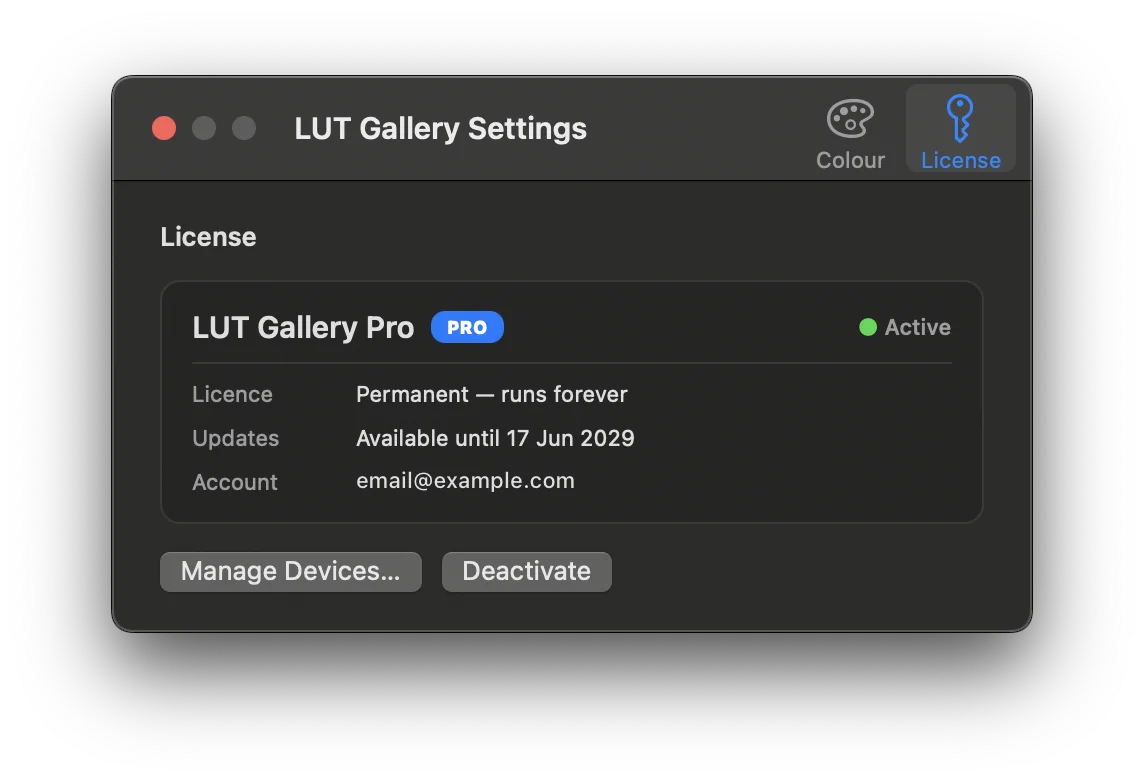
Everything licence-related lives in LUT Gallery menu → Settings… (⌘,) → License (or the gear icon in the toolbar): start the trial, Buy…, Upgrade to Pro…, Restore Purchase… on a new Mac, and manage your machines.
note
A trial needs an internet connection to verify each time you launch. A purchased licence runs offline once activated.
See Licensing & Updates for the full walkthrough of buying, upgrading, renewing and moving your licence between Macs.
Updates
LUT Gallery updates itself. Choose LUT Gallery menu → Check for Updates… at any time, or let it check automatically. When a new version is available you’ll be offered to download and install it in one click. Your purchase includes a year of updates; after that the app keeps working and you can Renew Updates… to keep getting new releases.
Quick orientation
When the app opens you’re in Preview mode with a sample image. The fastest way to get a feel for it:
- Import some LUTs —
File → Import LUTs…(⇧⌘I) or drag.cubefiles onto the window. - Import an image — click the + at the bottom of the window or drag an image in.
- Watch the film strip at the bottom render your image through every LUT.
- Click any LUT to apply it to the big preview.
The next pages explain every control in detail.